

Easy Basic Editing in Lightroom
Adobe Photoshop Lightroom is a great software for photographers to start with, and a good start point to turn over your photos from a pale and flat to a perfectly edited with only few basic tools.
Lightroom can do more than just basic color correction, you can turn photos into dramatic ones.
I use Lightroom with almost every photo before I export it to Photoshop.
Anyways, Let's do these few steps to turn over your photo;
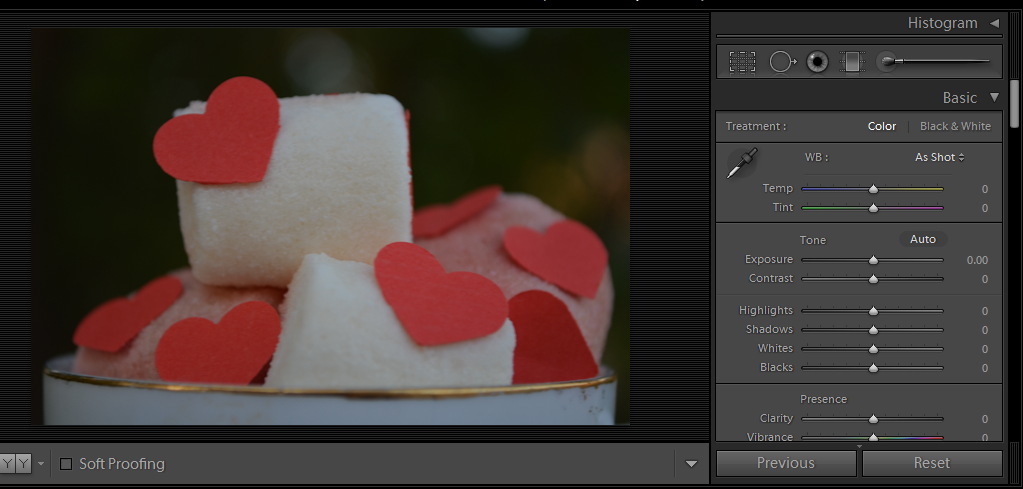
Into the " Develop " section you gonna find " Basic " Panel, do the following ;
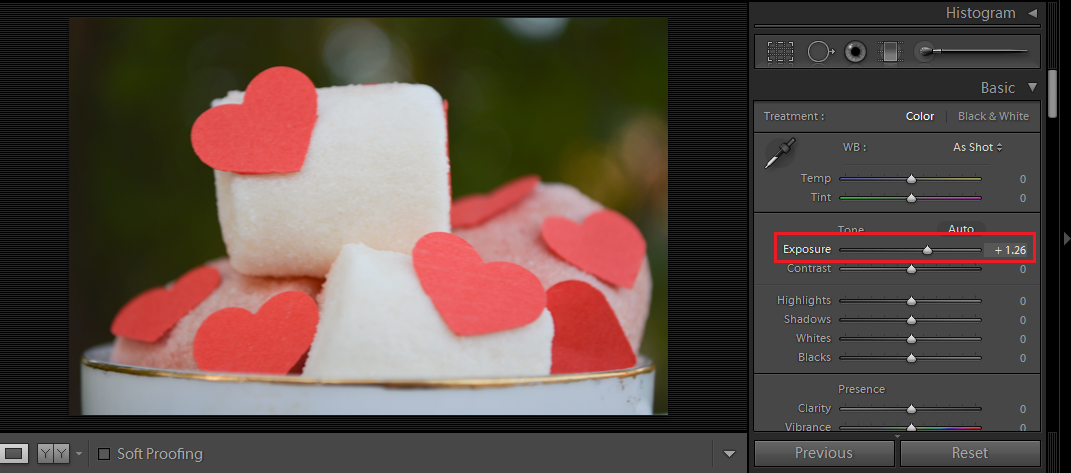
 Step 1 : Exposure
increase to give your image more light. for below photo i preferred +1.26
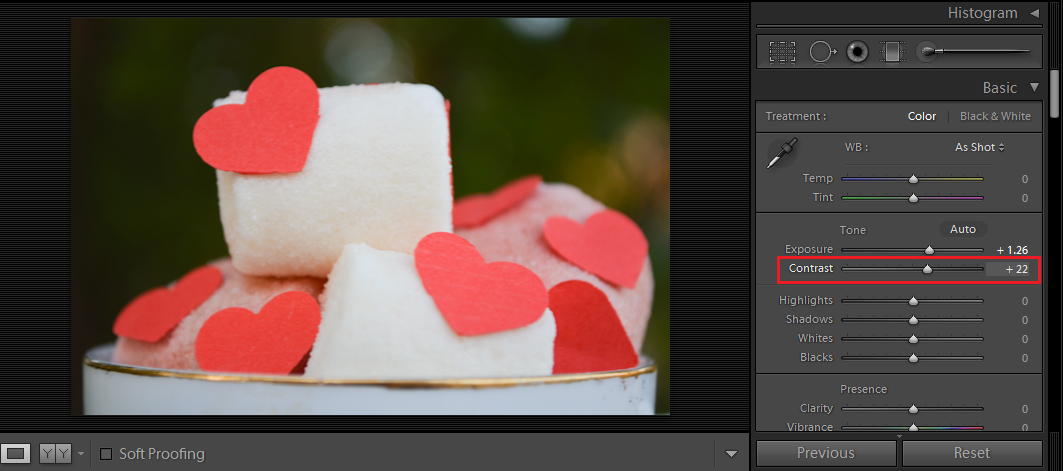
Increase a bit, for me I don't like the black areas to be so black but I like the photo to be well contrasted. +22
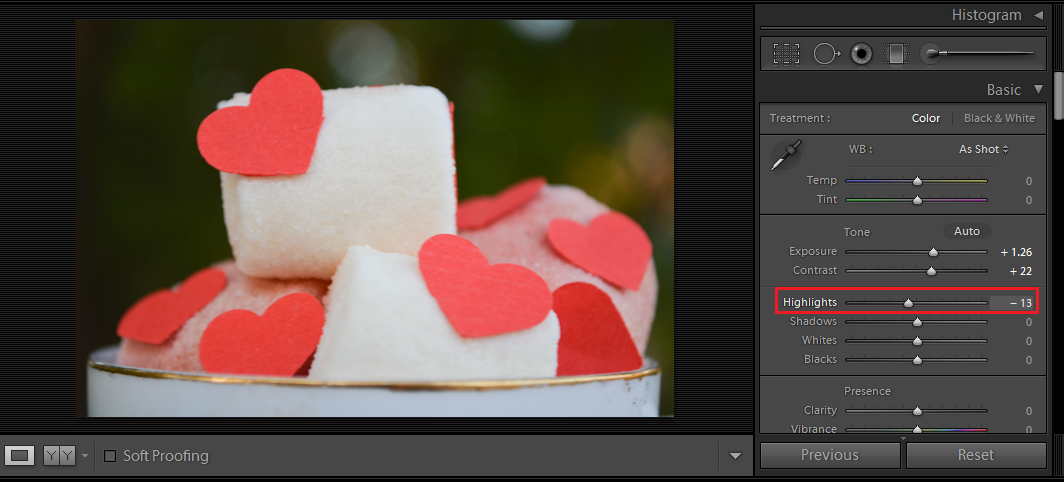
For the highlighted area. sometimes highlights kills details, so my settings is -13 .
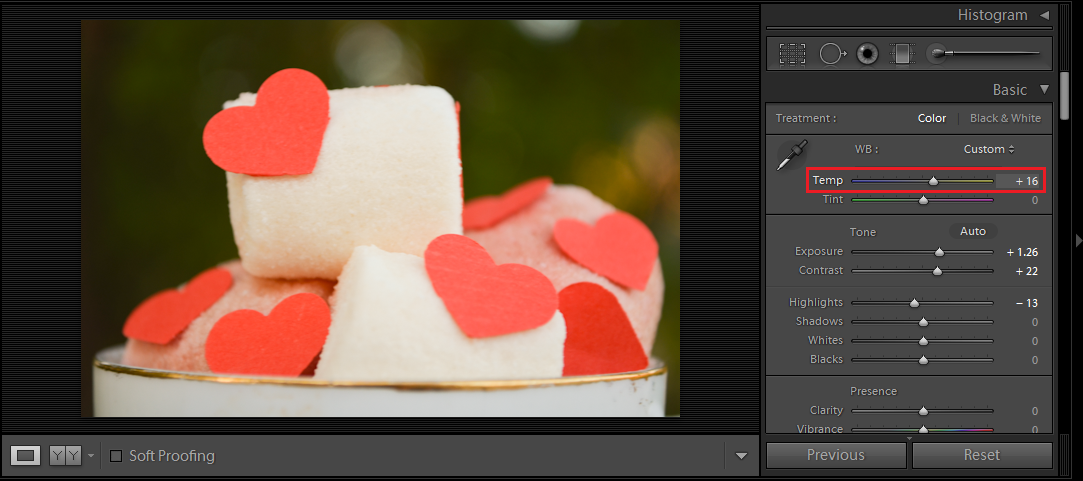
Step 4 : Temp (temperature )
To add warmness (yellowish) or coldness (bluish ). I added warm tune +16
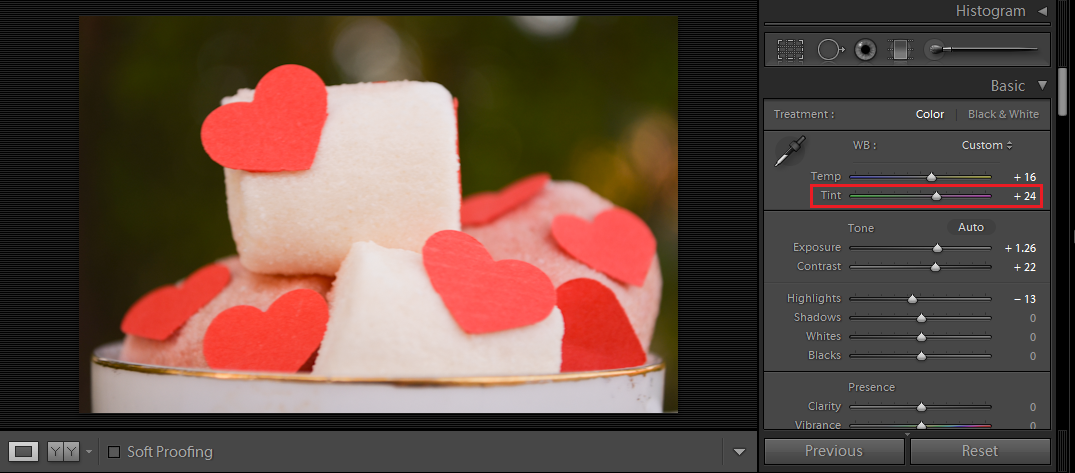
When ever I add warmness to the image I increase tent a bit because I feel it turns a bit greenish so increasing tent add a bit red tone. +24
And that's it ! We're done !

Any question ! ask in a comment .
Lightroom can do more than just basic color correction, you can turn photos into dramatic ones.
I use Lightroom with almost every photo before I export it to Photoshop.
Anyways, Let's do these few steps to turn over your photo;
Into the " Develop " section you gonna find " Basic " Panel, do the following ;
increase to give your image more light. for below photo i preferred +1.26
Step 2 : Contrast
Increase a bit, for me I don't like the black areas to be so black but I like the photo to be well contrasted. +22
Step 3 : Highlights
For the highlighted area. sometimes highlights kills details, so my settings is -13 .To add warmness (yellowish) or coldness (bluish ). I added warm tune +16
Step 5 : Tent
When ever I add warmness to the image I increase tent a bit because I feel it turns a bit greenish so increasing tent add a bit red tone. +24And that's it ! We're done !


0 comments: